
Preventing Glare from Vehicle Warning Lights
Table of Contents
- Why Vehicle Warning Lights Can Dazzle Oncoming Traffic
- Vehicle Warning Light Positioning for Safe Visibility
- How to Make a Broken-Down Vehicle Visible Without Glare
- Night Driving Glare Reduction Tips for Your Own Safety
- High-Visibility Warning Lights for Roadside Safety
- Checking and Maintaining Your Vehicle’s Warning Light System
- Frequently Asked Questions
Last Updated: October 6, 2026
Why Vehicle Warning Lights Can Dazzle Oncoming Traffic
Vehicle warning lights serve a critical safety purpose. They alert other drivers to a hazard. But poorly positioned or overly bright warning lights can actually create danger rather than prevent it.
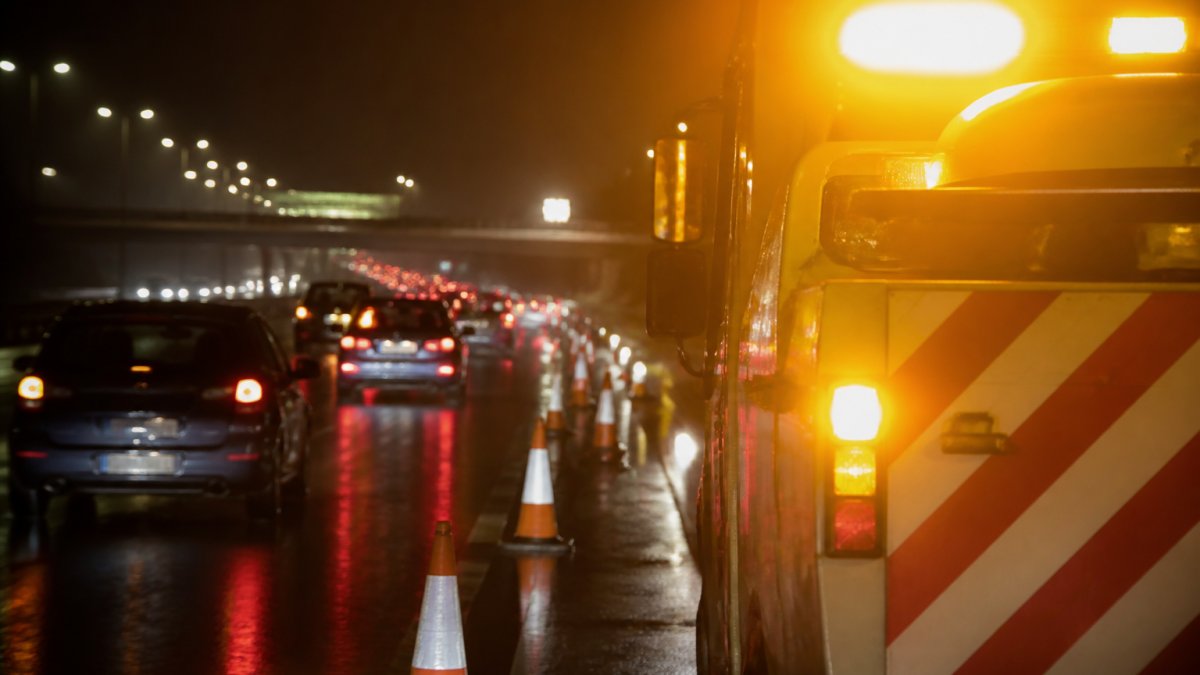
When a stationary vehicle sits on a busy motorway or highway, its warning lights need to be visible from a distance. However, bright flashing beams pointed directly at oncoming traffic can dazzle drivers and reduce their ability to see the road ahead. This creates a paradox: the safety device becomes a hazard itself.
The issue intensifies at night. Oncoming drivers experience a sudden burst of bright light. Their eyes struggle to adjust. Vision narrows. Reaction times slow. In those critical seconds, a collision becomes more likely, not less.
The solution isn’t to remove warning lights, it’s to position them correctly and understand the difference between visibility and dazzle. A vehicle warning lights glare problem occurs when brightness, angle, and positioning combine to overwhelm oncoming drivers rather than inform them.
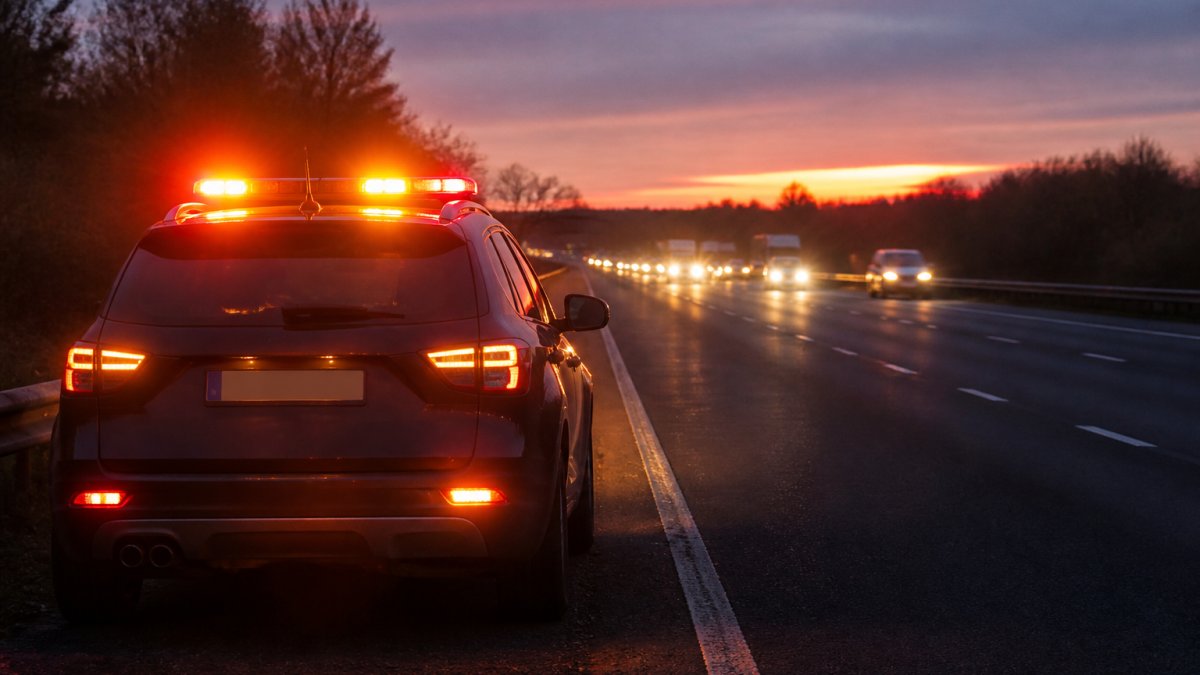
The most common mistake is assuming brighter equals safer. It doesn’t. A light that blinds an oncoming driver is counterproductive. That driver may swerve, brake suddenly, or lose control. The vehicle you’re trying to protect becomes the cause of a multi-vehicle incident.
Understanding why this happens helps you prevent it. Vehicle warning lights glare stems from three factors working together:
- Brightness without control. Unregulated LED beacons produce intense light with no diffusion.
- Angle toward traffic. Lights aimed directly at approaching vehicles create maximum dazzle.
- Lack of shielding. Exposed bulbs project light in all directions instead of targeted zones.
The fix requires intentional design and proper installation.
Vehicle Warning Light Positioning for Safe Visibility
The correct positioning of vehicle warning lights balances visibility with glare reduction. Lights should be seen from a distance without overwhelming oncoming drivers.
Position rear-facing warning lights on the back of your vehicle, angled slightly downward. This ensures approaching traffic sees them without direct beam exposure to eye level. The angle matters more than the brightness. A well-angled medium-intensity light outperforms a bright light pointed straight ahead.
Roof-mounted beacons work best when they project light in a 360-degree pattern but with reduced intensity toward oncoming traffic. Some advanced systems use directional optics that brighten the sides and rear while dimming the front-facing beam. This keeps your vehicle visible without dazzling approaching drivers.
Side-mounted lights should be positioned mid-vehicle, not at bumper height. This placement makes the vehicle visible from the side without creating a glare wall. Height matters: lights positioned too low create excessive reflection off the road surface.
Consider the type of warning light you’re using. Amber or orange lights are generally safer than red for side and rear positioning, as they’re less likely to cause the same level of visual distraction. However, red remains appropriate for rear-facing hazard indicators where regulatory requirements specify it.
Vehicle warning lights glare can also be managed through the use of multiple smaller lights rather than one intense beam. Distributing light across several points reduces the concentrated brightness that causes dazzle. This is why professional-grade systems use multiple LED units rather than single high-power bulbs.
| Positioning Factor | Best Practice | Why It Matters |
|---|---|---|
| Height on vehicle | Roof or mid-body | Avoids direct eye-level beam to oncoming traffic |
| Angle | Slightly downward or 360° with front dimming | Reduces glare while maintaining visibility |
| Light colour | Amber/orange for sides, red for rear | Reduces visual distraction to approaching drivers |
| Number of lights | Multiple smaller units | Distributes intensity, reduces concentrated dazzle |
| Shielding | Directional optics or diffusers | Controls beam spread and intensity |
How to Make a Broken-Down Vehicle Visible Without Glare
When your vehicle breaks down on a motorway, you need to be visible to oncoming traffic immediately. The challenge is doing this without creating a glare hazard that could cause another accident.
First, activate your hazard lights. These are designed for this exact purpose. Hazard lights flash rather than produce a steady beam, which is less likely to dazzle than continuous brightness. The flashing pattern also draws attention more effectively than a static light.
Next, position a warning triangle or beacon at a safe distance behind your vehicle. In the UK, the recommended distance is at least 45 metres behind your vehicle on a motorway. This gives approaching drivers time to see the warning and adjust speed before they reach your vehicle.
If you’re using an emergency beacon with GPS, activate it. Modern systems like those from Roadflash combine high-visibility lighting with geolocation. The GPS element alerts emergency services to your exact position, which speeds response times. The lighting component uses controlled intensity to remain visible without overwhelming approaching drivers.
Avoid standing directly behind your vehicle or between your vehicle and oncoming traffic. This puts you in the most dangerous position. Move to the side of the road, away from traffic flow.
If you must use additional lighting, ensure it’s angled away from oncoming traffic. Torches or work lights should point downward or to the side, not toward approaching vehicles.
For how to make a broken-down vehicle visible, the priority is controlled visibility, not maximum brightness. A properly positioned amber beacon with moderate intensity is more effective than a high-powered light that dazzles drivers.
Night Driving Glare Reduction Tips for Your Own Safety
When you’re the driver approaching oncoming warning lights, you can take steps to reduce the glare affecting your vision and reaction time.
Adjust your rear-view mirror to night mode. This reduces the intensity of light reflecting from behind you. Your mirror has a small lever or tab on the back that tilts the reflective surface. This simple adjustment cuts reflected glare significantly.
Keep your windscreen clean, inside and out. Dirt, dust, and moisture scatter light and amplify glare. A clean windscreen reduces the dazzle effect of bright lights. Clean your windscreen weekly during winter months when road spray and grime accumulate faster.
Clean your side mirrors and windows regularly. Smudges and water spots act as tiny prisms, spreading light across your field of vision. Clear glass makes oncoming lights appear as distinct beams rather than diffused halos.
When approaching bright warning lights, look toward the road edge rather than directly at the light source. This keeps your central vision on the road surface and approaching vehicle rather than on the bright beam.
Reduce your speed when approaching stationary vehicles with active warning lights. This gives you more time to react if your vision is temporarily affected by glare. High-speed approaches combined with glare-induced vision loss create the highest accident risk.
Consider using anti-glare sunglasses during night driving if you’re particularly sensitive to bright lights. Some drivers find that amber or brown-tinted lenses reduce glare without significantly darkening the road.
If oncoming warning lights are causing severe dizziness or disorientation, pull over safely and wait for your eyes to readjust. This is rare but can happen with very bright or poorly positioned beacons.
High-Visibility Warning Lights for Roadside Safety
High-visibility warning lights are designed to be seen from a distance without creating excessive glare. The best systems balance brightness, colour, and positioning to achieve this balance.
LED technology has improved high-visibility warning lights significantly. Modern LEDs produce bright light with less heat and better colour consistency than older halogen or incandescent bulbs. However, not all LED systems are created equal. Some produce harsh, concentrated beams that dazzle. Others use diffusion technology to spread light more evenly.
Roadflash’s multi-award-winning emergency beacons combine high-visibility lighting with intelligent design. The result is a vehicle warning lights glare reduction without sacrificing visibility.
Amber beacons work well for warning other traffic to slow down or be cautious. Red beacons are appropriate for hazard indicators on the rear. Some professional systems use a combination: amber for side and top positioning, red for rear-facing elements.
Flashing patterns matter. A steady light is less attention-grabbing than a flashing one. However, a very rapid flash (more than 4 times per second) can cause photosensitivity issues for some drivers.
For roadside operations, maintenance crews, or emergency response teams, high-visibility warning lights should be positioned at multiple points around the work area. This creates a clear perimeter that approaching traffic can see from multiple angles. A single bright light is less effective than three or four moderately bright lights distributed around the site.
GPS-enabled beacons add another layer of safety. These systems pinpoint your exact location for emergency services. If you’re injured or unable to flag down help, the GPS data ensures responders can find you quickly.
Checking and Maintaining Your Vehicle’s Warning Light System
Regular maintenance ensures your warning lights remain effective and don’t create unintended glare hazards.
Start with a visual inspection. Check that all warning light bulbs are functioning. A failed bulb reduces visibility and may cause remaining lights to appear brighter and more concentrated.
Examine the lens and housing of each light. Cracks or cloudiness reduce light transmission and can cause scattered glare. Clean lenses with a soft cloth and appropriate cleaner.
Check the angle of each light. Over time, vibration and impacts can shift the angle of mounted beacons.
Test the brightness. In a dark garage or at dusk, activate your warning lights. Walk around your vehicle and observe the intensity from different angles.
Verify the flashing pattern. Some warning lights have adjustable flash rates. Check that yours is set to a safe, moderate rate.
For vehicle warning lights glare concerns, pay special attention to front-facing elements. If any warning lights are positioned to shine toward approaching traffic, reposition them or install directional shields.
Test your hazard lights monthly. Activate them and confirm all four corners of your vehicle flash in synchronisation.
If you use an emergency beacon with GPS, verify the battery is charged and the GPS signal is active.
Keep maintenance records. Document when you last inspected and cleaned your warning lights. This helps you stay on a regular schedule and catch problems early.
Preventing glare from vehicle warning lights is about balance. Your vehicle needs to be visible to oncoming traffic, but not at the cost of dazzling drivers and creating new hazards.
At Roadflash, we’ve designed emergency beacons that solve this problem with intelligent optics and directional lighting. Whether you’re broken down on a motorway or managing roadside operations, the right warning light system protects everyone on the road.
UK Government guidance on motorway breakdowns and vehicle safety
Road Safety Foundation research on vehicle visibility and accident prevention
Institution of Highways and Transportation standards for emergency lighting
Frequently Asked Questions
How do I position vehicle warning lights to avoid dazzling oncoming drivers?
Position warning lights on the roof or upper rear of the vehicle, angled slightly downward so the beam spreads across the road surface rather than directly into approaching drivers’ eyes. Mounting height of 1.2 to 1.5 metres is typical for stationary vehicles. Ensure lights are centred or symmetrically placed to avoid asymmetrical glare. Check that the beam pattern spreads horizontally across your lane and the shoulder, not vertically into windscreens. Regular aiming checks prevent misalignment that causes dazzle.
What’s the difference between vehicle warning lights and headlights in terms of glare?
Headlights are designed to illuminate the road ahead for the driver’s vision, so they naturally point forward and upward, which can dazzle oncoming traffic if misaligned. Warning lights on a stationary vehicle should spread horizontally and downward to mark the vehicle’s position without pointing into oncoming drivers’ eyes. Warning lights typically use amber, red, or white LEDs with a wider, less focused beam pattern than headlights. Proper warning-light positioning ensures visibility without the concentrated beam intensity that causes eye strain or temporary blindness in approaching drivers.
Do I need emergency beacons if I already have hazard lights?
Standard hazard lights are less visible than dedicated emergency beacons, especially in low-light conditions or heavy traffic. Hazard lights alone may not give oncoming drivers enough warning distance to slow down safely. Emergency beacons with GPS and high-visibility features provide significantly greater visibility. Roadflash beacons with DGT 3.0 compliance offer enhanced visibility combined with location data, ensuring emergency services can reach you quickly if you’re injured or disoriented after a breakdown.
How often should I inspect my vehicle’s warning light system?
Inspect your warning lights monthly: check that all bulbs illuminate when hazard lights are activated, ensure lenses are clean and free from cracks, and verify that lights are securely mounted and properly aligned. Before long motorway journeys, test your emergency beacon system if fitted. After any impact or repair work near the rear or roof, recheck alignment. Clean light lenses every two weeks if you drive frequently, as dirt and grime significantly reduce visibility and can create unwanted reflections that dazzle approaching drivers.