
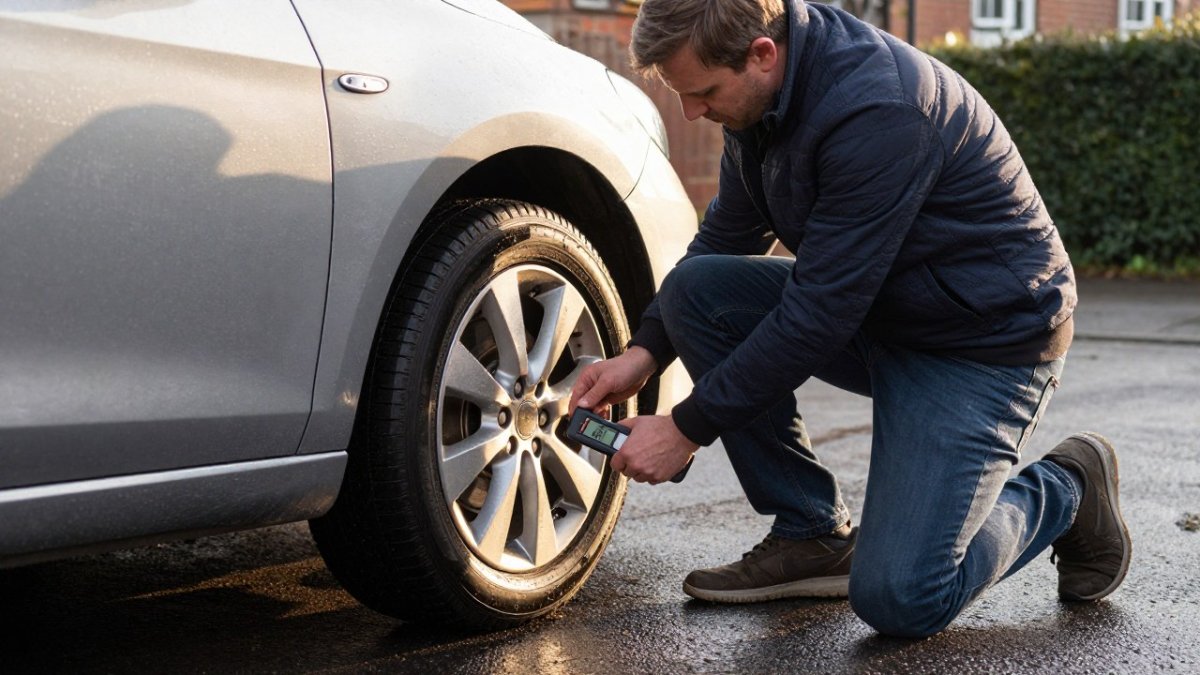
How Do You Check Car Tyre Condition Before a Journey?
Last Updated: November 19, 2026
Quick Summary
To check tyre condition before a journey, look for tread wear indicators, check pressure when the tyres are cold, and inspect each tyre for cuts, bulges and cracks. The whole process takes about ten minutes and can prevent a roadside breakdown.
- Check tread wear indicator bars on all four tyres; tread level with them is at or near the legal limit.
- Check pressures when tyres are cold, using the recommended figure in your handbook or door placard.
- Inspect sidewalls and full tread for cuts, bulges, cracks and embedded objects.
- A bulge on the sidewall often means internal damage and the tyre must be replaced.
- Check the spare tyre too, as a flat spare is no help if you need it.
Table of Contents
- How to Check Tyre Tread Depth Step by Step
- How to Check Tyre Pressure Before You Drive
- Tyre Damage Checks: Cuts, Bulges, Cracks and Punctures
- Car Checks Before a Long Journey: A Repeatable Pre-Journey Checklist
- Loaded Cars, Spares and EV Tyre Checks
- Booking Your Next Roadside Safety Kit and Tyre Check
- Frequently Asked Questions
Checking your tyre condition before a journey takes about ten minutes and can prevent a roadside breakdown or worse. Roadflash, a Nottingham-based business that makes early warning and emergency lighting kit for motorists, puts it simply: a little preparation before setting off can prevent many roadside emergencies. This guide walks through how to check car tyre condition before a journey, step by step.
Tyres are the only part of your car touching the road. Their tread gives grip on wet surfaces, and their pressure affects braking and handling. Worn or underinflated tyres lengthen stopping distances and make a blowout more likely at motorway speeds.
The Department for Transport publishes the rules for vehicle roadworthiness in Great Britain, and GOV.UK guidance on vehicle tyre condition and the law sets out what makes a tyre unsafe to drive on.
- Tread that is too shallow reduces grip in rain
- Low pressure increases heat and the risk of a blowout
- Cuts, bulges and cracks can fail without warning
- Uneven wear often points to a wider problem with alignment or suspension
How to Check Tyre Tread Depth Step by Step
To check tyre condition properly, start with tread depth, which takes less than a minute per tyre. Work around the car so you check all four tyres, not just the front pair.
- Park on level ground and make sure the tyres are cool.
- Look for the tread wear indicator bars, small raised strips across the grooves.
- If the tread is level with those bars, the tyre is at or near its legal limit.
- Check the central grooves, the outer edges and the inner edge of each tyre.
- Note any tyre that looks worn unevenly, as this can signal a wider fault.
Watch out: Check the whole width of the tyre. A tyre can look fine in the middle and be badly worn on one edge.
The 20p Coin Test and Tread Wear Indicators
Tread wear indicators are small raised bars across the grooves, and if they are level with the tread, the tyre is at or near its limit.
The Legal Minimum Tread Depth in the UK
For the legal minimum tread depth and the penalties for driving below it, see the official guidance below. For the exact rules, check GOV.UK rules on tyre tread depth and penalties.
How to Check Tyre Pressure Before You Drive
Tyre pressure is easy to check with a pressure gauge, and most petrol stations have an air machine. Check pressures when the tyres are cold, ideally before you have driven far that day.
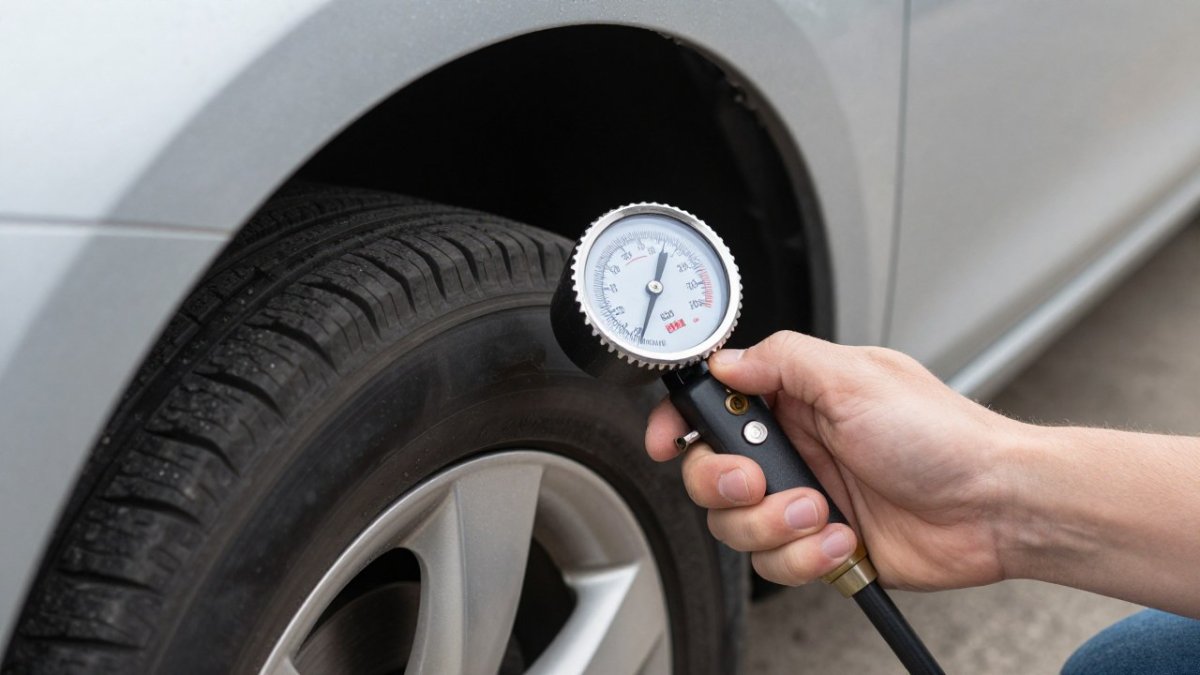
- Find the recommended pressure in your car’s handbook or on the door placard.
- Remove the valve cap and press the gauge firmly onto the valve.
- Compare the reading with the recommended figure for your load.
- Add or release air until the pressure matches.
- Replace the valve caps, which keep dirt out of the valve.
Check the spare tyre too, as a flat spare is no help if you need it.
Tyre Damage Checks: Cuts, Bulges, Cracks and Punctures
Walk around the car and look closely at each tyre. Check the sidewalls and the full tread surface, not just the top of the tyre.
- Cuts or splits that go through to the cords need immediate attention
- A bulge on the sidewall often means internal damage and the tyre must be replaced
- Cracks, especially on the sidewall, suggest age and perishing
- Embedded objects such as nails or glass need a professional check
If you find damage and must drive, keep your speed low and go straight to a tyre fitter. Our guide on how to change a flat tyre on the motorway safely explains what to do if a puncture happens on the road.
Car Checks Before a Long Journey: A Repeatable Pre-Journey Checklist
A fixed routine you run in the same order every time can help make sure nothing gets skipped on a rushed morning. The sequence below takes about ten minutes on a cold car and is built around the order that catches the most serious faults first.
Minutes 0-2: walk-round and damage scan. Start at the front nearside and work clockwise. Look at each sidewall and the full tread surface for cuts, bulges, cracks and embedded objects before you crouch down to measure anything. A bulge or a cut through to the cords fails the check immediately, stop here and read the failure guidance below rather than continuing.
Minutes 2-5: tread depth across all four tyres. Check the central grooves, both shoulders and the inner edge of each tyre at three points around the circumference. Note any tyre where the reading varies by more than about a millimetre across its width, because that pattern points to alignment or suspension rather than normal wear.
Minutes 5-8: pressures, cold, against the placard. Read the figure from the door pillar placard or handbook, not from memory and not from the number moulded on the sidewall, which is a maximum, not a recommendation. Set pressures to the figure for your actual load, then refit every valve cap.
Minutes 8-10: spare or mobility kit, then the supporting kit. Confirm the spare is inflated to its specified pressure, or that the sealant bottle is in date and the inflator runs. Finish with lights, wipers, washer fluid and a torch.
- Walk-round damage scan on all four tyres, both sidewalls and full tread
- Tread measured at three points per tyre, including inner and outer edges
- Pressures set cold to the placard figure for the current load
- Valve caps refitted on every valve
- Spare inflated, or sealant in date and inflator working
- Lights, wipers, washer fluid and torch checked
Watch out: A tyre that passes the tread test but has a slow puncture will often read noticeably lower than its pair on the same axle. If one tyre is consistently several psi below the others across successive checks, treat it as a puncture to be investigated rather than topping it up and setting off.
Run the routine the day before a long trip where possible, so a failed check leaves time to book a fitter rather than forcing a decision at the kerb. Tiredness on the road is a risk too, and the signs of driver fatigue on long journeys are worth knowing before you set off. For the wider preparation routine, see how to prepare your car for long motorway journeys.
Loaded Cars, Spares and EV Tyre Checks
A heavy load changes what your tyres need, and the placard on the door pillar usually carries more than one column of figures for exactly this reason. Read across to the column for a full load, often labelled something like ‘normal load’ and ‘full load’, and use the higher figure when the car is carrying a full complement of passengers, a boot full of luggage, or both. Towing adds drawbar load and nose weight on top, so check the handbook for the towing pressures and the nose-weight limit rather than assuming the solo figures still apply.
Spares and mobility kits. A full-size spare is checked like any other tyre: tread, sidewall condition and pressure, with the spare’s higher storage pressure often specified separately in the handbook. A space-saver is a temporary tyre with a lower speed and distance limit moulded on its sidewall, check it is inflated and that the limit is understood before you rely on it. If the car has no spare, confirm the sealant bottle is within its expiry date and that the inflator’s cable and hose are intact; sealant that has sat unused for years may not seal a puncture. Where a repair kit is the only option, know that sealant is a get-you-home measure, not a permanent repair, and that the tyre should be inspected by a fitter afterwards.
Electric vehicles and TPMS. Electric cars are often heavier than comparable petrol models because of the battery pack, which raises the load each tyre carries. A tyre-pressure monitoring system warns when a tyre falls below its threshold, but it does not replace a gauge: TPMS can be slow to flag a gradual loss, may not distinguish a correctly set pressure from a slightly low one, and on some systems needs resetting after inflation. Treat a dashboard warning as a prompt to stop and measure with a gauge, not as a substitute for the monthly manual check.
What to do when a check fails. Low pressure with no visible damage: inflate to the placard figure and recheck after a short drive; if it drops again, treat it as a puncture. A puncture or embedded object: do not pull it out, drive slowly to a fitter, or fit the spare or use the sealant if the tyre is losing air. A bulge, a cut through to the cords, or cracking on the sidewall: do not continue the journey; these are structural failures that can let go without warning. Tread at or near 1.6mm: replace before the trip rather than after it.
Keep a roadside kit in the boot, including a tyre inflator or repair kit, a torch and a warning light. Our roadside safety tips for UK drivers cover the other items worth carrying.
Booking Your Next Roadside Safety Kit and Tyre Check
A tyre check takes minutes, but a fault found too late can cost much more. Work through the steps above before every long trip, and replace any tyre that fails.
At Roadflash, we make early warning lights and emergency beacons designed to improve visibility of your car if you break down at the side of a road. If you are building your emergency kit, our guide to safety gear for car emergencies explains what to choose. Add to basket when you are ready.
Frequently Asked Questions
How do I check my car tyres before a journey?
Walk round the car and look at all four tyres, including the spare if you carry one. Check the tread depth, look for cuts, bulges, cracks or embedded objects on the tread and sidewall, and confirm the pressure against the figures in your vehicle handbook or on the door placard. Check tyres when they are cold, ideally before you have driven far. Doing this takes only a few minutes.
What is the legal minimum tyre tread depth in the UK?
For the legal minimum tread depth for cars in the UK, check the official guidance on GOV.UK. Check the depth in several places across each tyre, not just one spot, as uneven wear can hide a tyre that is below the limit at the edges.
Can I drive with a bulge or crack in a tyre?
No, you should not drive on a tyre with a bulge or a crack in the sidewall. A bulge usually means the internal structure has been damaged, which can cause a sudden blowout at speed. Cracks in the sidewall or deep cuts that expose the cords also mean the tyre is unsafe. Have the tyre inspected and replaced by a qualified tyre fitter before setting off, and keep the spare in mind if you need to swap it on the roadside.
Should I check tyre pressure when the tyres are cold?
Yes. Tyre pressure rises as the tyre warms up through driving, so a reading taken after a long drive will be higher than the true figure. Check pressures when the tyres are cold, ideally before you have covered more than a few miles. Use the pressures in your vehicle handbook or on the door placard, and remember to include the spare and any extra pressure needed for a loaded car or towing.
