
Safety Gear for Car Emergencies: How to Choose the Right Kit
Last Updated: November 12, 2026
Quick Summary
A car emergency kit should cover visibility, first aid, power and communication, basic repairs, and comfort. Choose warning devices based on your roads: reflective triangles suit quieter roads, while emergency beacons suit fast roads where walking to place a triangle is risky. Check and replace kit items regularly.
- Pack warning devices, high-visibility vests for every occupant, and a torch with spare batteries.
- On fast roads, avoid walking into a live lane to place a triangle.
- Hazard lights signal a problem but do not replace a visible warning device.
- Add a de-icer, blanket and warm clothing for winter conditions.
- Check kit contents every few months, since batteries and medication can expire.
Table of Contents
- Why Your Car Emergency Kit Matters on UK Roads
- Car Emergency Kit Checklist: The Essentials to Pack
- Choosing Roadside Safety Equipment for Your Vehicle and Journeys
- Adapting Your Kit for Winter Conditions
- Car Breakdown Safety Tips: What to Do Once You Stop
- Checking, Maintaining and Replacing Your Kit
- Building Your Kit Around Your Next Journey
- Frequently Asked Questions
Why Your Car Emergency Kit Matters on UK Roads
Choosing the right safety gear for car emergencies can mean the difference between a minor delay and a serious collision.
Many drivers assume their hazard lights are enough. In practice, a stopped car on a dark bend or in heavy rain can be hard to spot until it is too late.
The UK’s motorway network carries high volumes of fast-moving traffic, so a breakdown there carries more risk than one on a quiet residential road.
Car Emergency Kit Checklist: The Essentials to Pack
A practical car emergency kit should cover five areas: visibility, first aid, power and communication, basic repairs, and comfort. Start with this list and adjust it for your vehicle and the journeys you make most often.
- Visibility: warning triangle or emergency beacon, high-visibility vests for every occupant, and a torch with spare batteries
- First aid: a complete first aid kit, any regular medication, and a foil blanket
- Power and communication: a fully charged phone, a car charger, and a portable power bank
Check the contents every few months. Batteries lose charge, medication expires, and food packs go out of date. A kit that has not been checked may fail when you need it most.
Choosing Roadside Safety Equipment for Your Vehicle and Journeys
Most checklists tell you what to pack. Fewer explain how to choose between the options on the shelf, or how to use warning equipment without putting yourself in danger. This section is a decision guide: it sets out the criteria that matter, the trade-offs between common products, and the safe-use rules that apply once you stop.
Start with four questions about your driving
Before you buy anything, answer these honestly:
- How fast is the traffic where you usually drive? A rural B-road and a three-lane motorway call for different warning equipment. On fast roads, anything that requires you to walk into or beside a live lane is a poor choice.
- How far from help are you on a typical journey? A short urban commute is rarely more than a few minutes from assistance. A long motorway or cross-country run may leave you exposed for much longer, so warmth, water and communication gear matter more.
- What is the weather like where you live and travel? Coastal wind, upland snow, and persistent rain each change what you need. Cold reduces battery performance and makes warmth a safety item, not a comfort one.
- Who travels with you? Children, older passengers, and anyone with mobility or medical needs change both what you carry and where you keep it.
Selection criteria and trade-offs
When you compare two products that do the same job, judge them on the same handful of criteria rather than on price alone.
- Visibility. For high-visibility clothing, check the markings on the label before you buy. Class 3 gives the most conspicuous coverage; Class 2 is common for vests. For warning devices, consider how far away a driver will see the device in poor light and rain, not just in daylight.
- Durability and weather resistance. A warning triangle that has cracked or lost its reflective strips is no longer effective. Look for housings that survive being stored in a boot through hot summers and freezing winters, and check that reflective surfaces are sealed rather than exposed to abrasion.
- Power source. Battery-powered beacons and torches vary widely. Rechargeable units avoid the cost of disposable batteries but need charging discipline; disposable-battery units are simpler to keep ready but need spare cells stored with them. Cold weather shortens the run time of both.
- Size and ease of use. The best device is the one you can deploy in seconds, in the dark, in the rain, without reading instructions. Practise once in a safe place so you are not learning under pressure.
Warning devices: triangles, beacons and hazard lights
Hazard lights tell other drivers something is wrong, but they do not tell them how far ahead the hazard is, and on a bend or in heavy rain they can be hard to see in time.
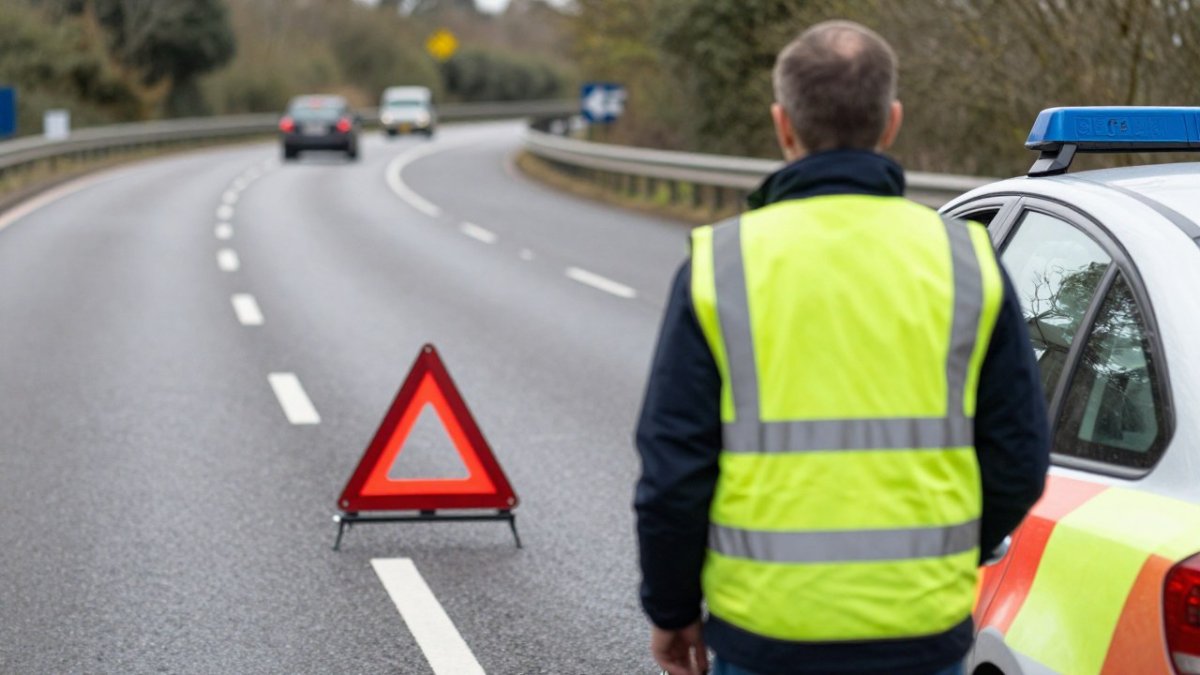
- Reflective warning triangles work well on quieter roads where you can place one at a safe distance behind the vehicle without walking into traffic. They are simple, need no power, and are widely recognised.
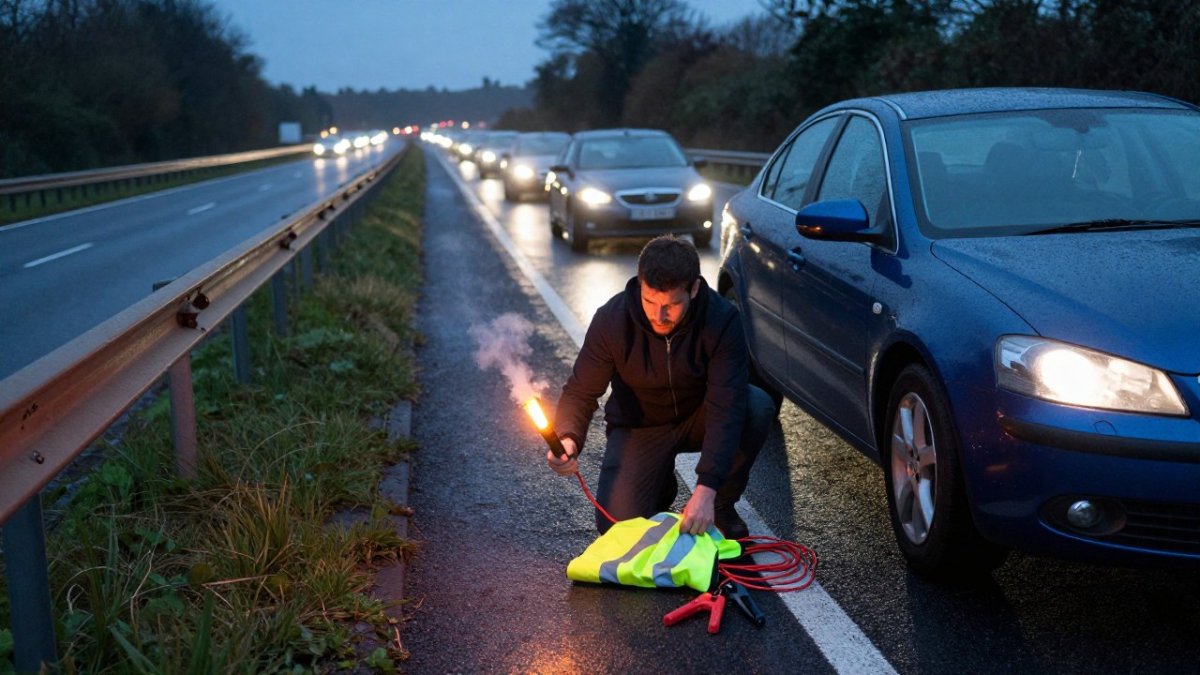
- Emergency beacons are designed to be activated from inside the vehicle or placed quickly at the roadside, and they can give approaching drivers an earlier warning of a stationary car. They suit fast roads where walking behind the car is itself a risk.
- Hazard lights should be used as well, not instead. They are a signal, not a substitute for a visible warning device.
Whichever you choose, keep it reachable, keep it in working order, and know how to deploy it before you need it.
Watch out: on a motorway or any fast road, do not walk into or beside a live lane to place a triangle.
Matching gear to motorway and commuter driving
Motorway drivers need equipment that works at speed and in poor light. Prioritise visibility gear that is quick to deploy and clearly seen by fast-approaching traffic, and keep it in the cabin rather than the boot.
Commuters who drive in the dark or in winter should prioritise lighting and warmth. Drivers who rarely leave town can carry a smaller kit, but should still keep a vest, a torch and a way to call for help within reach.
Passenger-specific needs
Equipment should suit the people you travel with. If you carry children, older relatives or anyone with mobility or medical needs, plan for them specifically. Keep a spare copy of any medical information, make sure every passenger can reach a high-visibility vest without leaving the vehicle first, and consider whether anyone in the car would struggle to exit through a passenger door in an emergency.
The table below compares the main warning devices covered in this section, so you can see which suits your roads at a glance.
| Device | Best for | Key difference |
|---|---|---|
| Reflective warning triangle | Quieter roads | Needs no power, but requires a walk to place |
| Emergency beacon | Fast roads | Activated from the vehicle or placed quickly at the roadside |
| Hazard lights | Every breakdown | A signal only; not a substitute for a visible device |
Adapting Your Kit for Winter Conditions
Winter adds risks that summer kits do not cover. Freezing temperatures can drain batteries, ice can stop a car from moving safely, and snow can hide the road edge.
Keep your emergency beacon and torch batteries in mind, too. Cold weather reduces battery performance, so check charge levels before the season begins and keep spares somewhere warm when possible. Pack a foil blanket and extra layers if you travel long distances in winter.
Car Breakdown Safety Tips: What to Do Once You Stop
Once you have stopped, the priority order is fixed: protect people first, then warn other drivers, then call for help. What follows separates what the law requires from what good practice recommends, because the two are not the same and the difference matters when you are deciding what to do in the first sixty seconds.
What the law requires
Legal requirements for breakdown equipment are narrower than many drivers assume, so check the current guidance from the relevant authority for your vehicle and journey.
The safe sequence after a breakdown
- Get to safety first. If you can, move the vehicle off the carriageway to a hard shoulder, lay-by or verge. Switch on hazard lights immediately.
- Get people out and behind a barrier. On a motorway, leave through the passenger door where possible and move behind the safety barrier if one is available (The Highway Code – Breakdowns and incidents (275 to 287) – Guidance). Do not stand between the car and moving traffic.
- Put on high-visibility clothing. Every occupant should have a vest within reach before an incident, not after.
- Warn approaching drivers. Deploy your warning device only if you can do so without walking into or beside a live lane. On fast roads, an emergency beacon activated from the vehicle or placed quickly at the roadside is safer than a triangle that requires a walk.
- Call for help. Use the emergency services or your breakdown provider and give your exact location, including the nearest marker post, junction or bridge number.
Watch out: many drivers try to repair a car on a live motorway. Do not attempt roadside repairs on fast roads. Wait for assistance behind the barrier.
Legal versus recommended: a quick way to think about it
A useful habit is to sort your kit into three tiers. Required items are those the law or your vehicle’s construction and use rules demand. Recommended items are those that good practice and most motoring organisations suggest, such as a first aid kit, a torch and warm clothing. Journey-specific items are those you add for a particular trip, such as winter supplies for a long drive or medication for a passenger. Knowing which tier an item sits in helps you decide what to replace first and what to add when your circumstances change.
Checking, Maintaining and Replacing Your Kit
A car emergency kit needs regular attention. Set a reminder to check it at the start of each season and again after any major trip.
Replace items according to their condition rather than waiting for a set date. A reflective vest with torn strips no longer does its job. Batteries should be replaced when they stop holding a charge, not just when they are old.
Building Your Kit Around Your Next Journey
Your kit should match the trip ahead. Before a long drive, check that visibility gear is accessible, your phone is charged, and your first aid supplies are complete.
Start with the essentials in this guide, then add items that suit your vehicle and your routine. Review your kit after each change in circumstances, such as a new car, a new route or a change in who travels with you.
Frequently Asked Questions
What safety gear should I keep in my car for emergencies?
At minimum, keep a warning triangle, a high-visibility vest for every passenger, a first aid kit, a torch with spare batteries, jump leads, a tyre inflator or repair kit, a phone charger, and a blanket. Drivers who use motorways regularly should also consider a battery-powered warning beacon that increases visibility of a stationary vehicle. Check that each item is fit for purpose, undamaged and easy to reach from the driver’s seat without unloading the boot.
Do I need a warning triangle or a high-visibility vest in my car?
In the UK, a warning triangle is widely recommended and a high-visibility vest is a practical addition, since you will need to be seen when you step out of the vehicle at the roadside. Keep the vest within reach of the driver’s seat rather than in the boot, so you can put it on before leaving the car. Place the triangle well behind the vehicle, but only once it is safe to walk to the spot.
How often should I check the items in my car emergency kit?
Check your car emergency kit at least twice a year, and ideally every time the seasons change. Look at expiry dates on first aid items and food, test torches and replace batteries, check that jump leads are not frayed, and confirm that the tyre repair or inflation kit still works. Replace anything damaged or used, and note the check date so the routine is easy to keep.
What should be in a winter car emergency kit?
A winter kit should include everything from a standard kit plus an ice scraper, a de-icer, a warm blanket or foil blanket, warm gloves, a hat, sturdy footwear, water and non-perishable food. A torch and a charged phone power bank matter more in winter, as breakdowns in cold weather can leave you waiting longer. Keep a small shovel if you drive in snowy areas, and make sure the kit is stored where it can be reached in icy conditions.
