
How Do You Prevent Electrical Faults in Utility Vehicle Lights?
Last Updated: November 3, 2026
Quick Summary
To prevent electrical faults in utility vehicle lighting, protect the wiring and connectors from moisture, heat and vibration, and check the earth connection before replacing any light. Sealed connectors, correctly sized fuses and a fixed inspection routine stop most failures before they reach the lights.
- Use sealed connectors and apply dielectric grease to contacts before mating.
- Size cable for full current draw and fit a fuse or breaker rated for each lighting circuit.
- Check the earth point first, since a poor earth often looks like a fault in the light itself.
- Run a weekly function check and a monthly connector inspection, and log every fault found.
- Read module fault codes before using a multimeter on multiplexed lighting circuits.
Table of Contents
- Common Causes of Electrical Failure in Vehicle Lighting
- Vehicle Lighting Fault Diagnosis: Spotting Symptoms Early
- Proper Wiring, Fusing and Surge Protection
- Waterproof Connectors for Vehicle Lights and Corrosion Control
- Utility Vehicle Lighting Maintenance Schedules
- LED Work Light Troubleshooting Step by Step
- Building a Fault-Prevention Routine for Your Fleet
- Frequently Asked Questions
Electrical faults are one of the most common reasons utility vehicles lose their warning lights on the job.
Utility vehicles face harder conditions than most cars. They idle for long periods, carry heavy loads, run in rain and grit, and often have extra equipment wired into the same circuits.
Most faults share a few root causes. Once you know them, you can stop most problems before they start.
Common Causes of Electrical Failure in Vehicle Lighting
Most lighting failures trace back to a small set of causes. Knowing them helps you check the right things first.
- Moisture ingress: water gets into connectors and terminals, causing corrosion and short circuits.
- Heat: repeated high temperatures age insulation and stress LED drivers.
- Vibration: constant shaking loosens terminals and cracks solder joints over time.
- Overloaded circuits: extra equipment added without upgrading fuses or wiring.
- Poor grounding: a weak earth connection causes erratic behaviour that looks like a fault in the light itself.
A common mistake is blaming the light when the real problem is the wiring behind it. Check the harness and earth point before replacing any fitting.
The article identifies a small set of root causes behind most lighting failures, each with a telltale effect.
| Cause | Effect | Prevention |
|---|---|---|
| Moisture ingress | Corrosion and short circuits | Sealed connectors |
| Heat | Ages insulation, stresses LED drivers | Check for heat damage |
| Vibration | Loosens terminals, cracks solder joints | Secure harnesses |
| Overloaded circuits | Extra equipment added without upgrading fuses or wiring | Match fuse and wiring to load |
| Poor grounding | Erratic behaviour that looks like a light fault | Check earth point first |
Vehicle Lighting Fault Diagnosis: Spotting Symptoms Early
Early symptoms are easy to miss, and on modern utility vehicles they are also easy to misread. Catching them early can mean a quick fix instead of a breakdown in the field, but only if you interpret the symptom correctly.
Watch for these signs:
- Lights that dim when the engine is under load or when another high-draw item switches on
- Beacons that flash out of sync, slow down or stop altogether
- Intermittent faults that come and go with vibration or after rain
- Burning smells, discoloured connectors or a lamp that runs noticeably hotter than its neighbours
- Fuses that blow more than once, or a fuse that blows only when a particular piece of equipment is used
- Dashboard warning messages that name a lighting circuit the driver cannot see a fault on
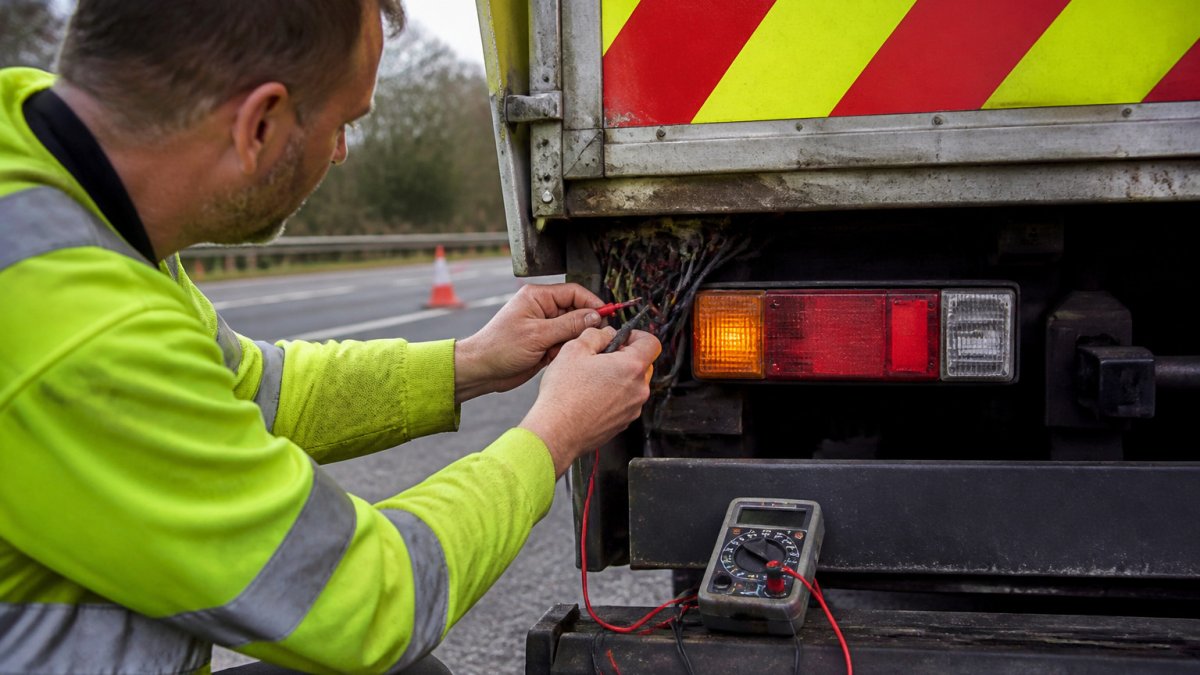
Run a continuity test on suspect circuits with the power off, and check insulation resistance if you suspect moisture has reached the harness. On vehicles with a CAN-bus or similar multiplexed lighting system, however, a continuity test alone will not tell the whole story.
How CAN-bus systems change fault detection
On a multiplexed vehicle, lighting is often controlled by a body control module rather than a simple switch-and-relay circuit. The module monitors current draw on each output and can flag a bulb or circuit as failed even when the lamp still illuminates, because the draw has drifted outside the expected range. This produces two common misdiagnoses:
- A technician replaces a lamp that is working because the module reports a fault; the real cause is a corroded connector adding resistance to the circuit.
- A technician fits a non-approved LED lamp and the module reports a fault because the lamp’s current draw is lower than the module expects. The fix is a lamp or load resistor specified for that vehicle’s system, not a wiring repair.
When diagnosing a multiplexed circuit, read the module’s fault codes before reaching for a multimeter. The code often narrows the fault to a specific output, which saves time chasing the wrong harness.
LED flicker and voltage drop explained
LED flicker is one of the most confusing faults. In many cases it comes from voltage drop rather than a failing LED.
To check for voltage drop, measure voltage at the source and again at the light while the system is running. A large gap points to a wiring or connector problem.
Watch out: replacing an LED driver before confirming the supply voltage is stable simply moves the fault downstream; always prove the circuit can deliver steady voltage under load first.
Proper Wiring, Fusing and Surge Protection
Good wiring and protection stop many faults before they reach the lights.
- Size cable for the full current draw, with a margin for the future
- Fit a fuse or circuit breaker rated for each lighting circuit
- Use relays for high-draw lights so the switch does not carry the full load
- Fit surge protection where the vehicle electrical system is exposed to voltage spikes
Keep wiring neat and clipped away from moving parts. Route cables away from heat sources, and avoid sharp edges that can cut through insulation.
Waterproof Connectors for Vehicle Lights and Corrosion Control
Connectors are a weak point on most utility vehicles. Water finds its way into any gap, and corrosion spreads from there.
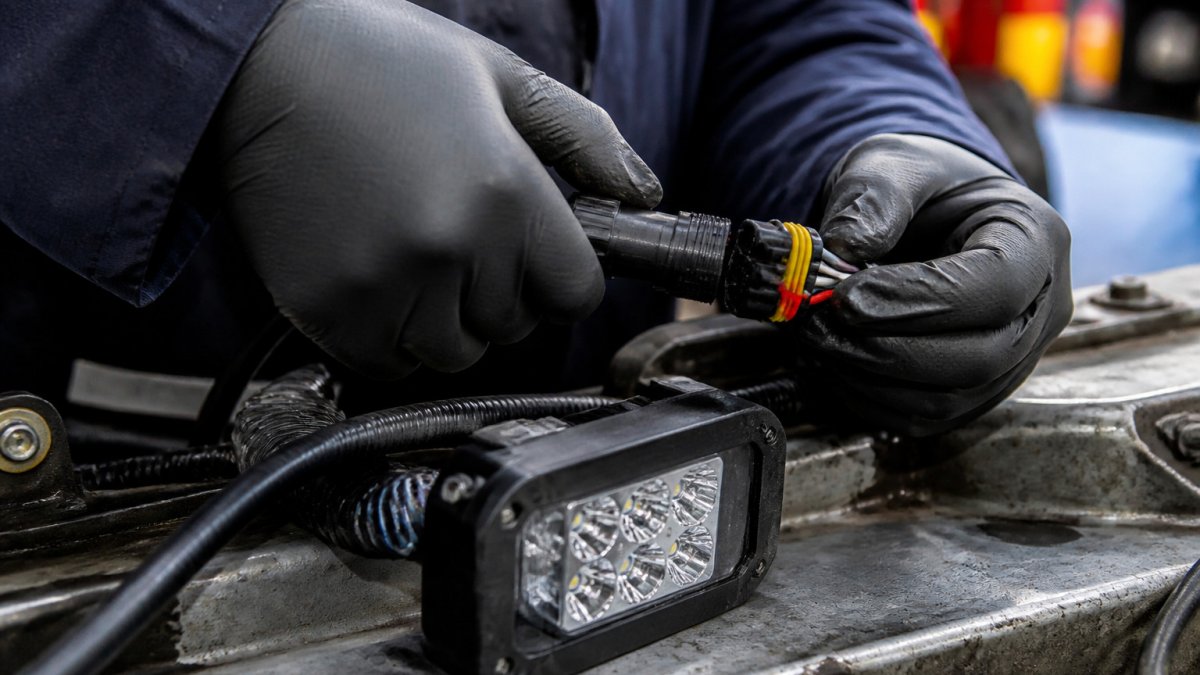
- Choose sealed connectors rated for the environment the vehicle works in, and learn what IP ratings mean for outdoor equipment before you buy.
- Apply dielectric grease to contacts before mating
- Check seals during routine inspections and replace any that are cracked or flattened
- Support cables so the connector does not take the strain
A sealed connector costs little compared with a burnt-out harness, so treat connectors as a priority item.
Utility Vehicle Lighting Maintenance Schedules
A generic weekly-and-monthly checklist is a starting point, but utility fleets rarely operate under one set of conditions. For guidance on keeping LED warning beacons working for longer, see the maintenance notes below. A gritter, a highways maintenance truck and a recovery vehicle all stress their lighting circuits differently, so the schedule should be matched to the duty cycle and environment of each vehicle type.
Tailored schedules by utility vehicle type
- Highways maintenance and winter service vehicles (gritters, snow ploughs): weekly function check of beacons and work lights; fortnightly inspection of connectors, seals and earth straps during the winter season; monthly voltage-drop test at the rear-most lights; pre-season full circuit review before the first salt run. Salt spray and freeze-thaw cycling attack connectors faster than any other operating condition.
- Roadside recovery and breakdown vehicles: weekly check of all warning and work lights; monthly inspection of wiring routed near the tilt-bed, winch and any moving equipment; quarterly relay and fuse test; annual replacement of any connector showing green corrosion. These vehicles combine vibration, frequent stop-start use and high current draw from work lights.
- Municipal and grounds maintenance vehicles (tippers, sweepers, refuse): weekly function check; monthly connector and harness inspection, with particular attention to the rear and underside where road spray collects; quarterly earth-point continuity test; annual review of the whole lighting circuit. Refuse and sweeper bodies generate constant vibration and dust ingress.
- Agricultural and off-road utility vehicles: weekly function check during the working season; monthly inspection after any operation in mud, slurry or standing water; quarterly test of all sealed connectors and dielectric grease renewal; annual full circuit review. These vehicles often sit unused for periods, so add a pre-season check before the first use.
What each interval should actually cover
A schedule is only useful if each check has a defined pass/fail. Use these as the minimum scope:
- Weekly: confirm every lamp illuminates and every beacon flashes at the correct rate; check that no warning lamp is illuminated on the dash; look for obvious lens damage or water droplets inside a lamp.
- Monthly: inspect connectors for corrosion, loose pins and cracked seals; check that harness clips and cable ties are intact and that wiring is clear of moving parts and heat sources; verify that fuses are the correct rating and seated firmly.
- Quarterly: measure voltage at the source and at the furthest light on each circuit with the system running; carry out a continuity check on earth points; test relays for chatter or sticking; inspect LED drivers for discolouration or heat damage.
- Annually: review the full lighting circuit against the vehicle’s current equipment list, since extra equipment is often added without upgrading wiring or fusing; replace any connector, seal or cable showing wear; update the fault log and adjust intervals based on what the log shows.
Using the fault log to tune intervals
A written schedule is only half the system. Log every fault, the circuit affected, the vehicle type and the conditions when it occurred. After a few months, patterns emerge: a particular vehicle type may need shorter connector intervals, or a specific circuit may keep blowing fuses because equipment was added without upgrading the wiring.
Watch out: shortening intervals without recording why makes the schedule harder to justify and easier to abandon; always tie a change to a logged fault pattern.
LED Work Light Troubleshooting Step by Step
When a work light fails, follow these steps in order. If your beacon keeps failing, choosing durable LED beacons for demanding vehicles may be the longer-term fix.
- Confirm the power source is live at the switch.
- Check the fuse for that circuit and replace it if blown.
- Inspect the connector for water, corrosion or loose pins.
- Measure voltage at the light with the system running.
- Test the earth connection with a continuity check.
- Swap in a known-good light to see whether the fitting or the circuit has failed.
Work through the steps in this order. Most faults are found in the first three.
Building a Fault-Prevention Routine for Your Fleet
A written routine keeps everyone on the same page. Assign each check to a named person and log the results.
Start with the basics: a weekly function check, a monthly connector inspection and a log of every fault found. Over time, the log shows which vehicles or circuits need more attention.
For fleet managers looking for dependable warning lights, Roadflash offers beacons designed for demanding roadside work.
Frequently Asked Questions
What causes electrical faults in utility vehicle lighting systems?
The most common causes are moisture ingress into connectors, corrosion on terminals, vibration fatigue in wiring harnesses, undersized or missing fuses, and voltage spikes from the vehicle’s electrical system. Heat around poorly ventilated LED drivers also shortens component life. Most faults start as small problems such as a loose earth connection or a chafed cable, which then grow into intermittent failures. Regular visual inspection and continuity testing catch these early, before a light fails on a dark road or a worksite.
How can I prevent wiring faults in vehicle lights?
Route cables away from moving parts and sharp edges, secure them with clips at regular intervals, and avoid sharp bends near connectors. Use correctly rated fuses and relays for each circuit, and fit surge protection where the vehicle system is prone to spikes. Make sure every earth point is clean, bare metal and firmly tightened. Using sealed, waterproof connectors and heat-shrink insulation at joins prevents the moisture and vibration damage that causes most wiring failures in utility vehicles.
How often should utility vehicle lights be checked?
A practical approach is a quick visual check at the start of each shift or working day, a functional test of all lights weekly, and a detailed inspection of connectors, earths and wiring at each scheduled service. Vehicles working in wet, muddy or salt-exposed conditions should be inspected more often. Keep a simple log of faults and repairs, because patterns in the log often reveal a recurring cause such as a particular harness route or connector type that needs attention.
Why do LED work lights flicker or fail?
LED work lights usually flicker because of voltage drop along a corroded or undersized connection, a failing LED driver, or interference from a worn relay. Failure is often caused by overheating from blocked ventilation, water getting into the driver housing, or repeated voltage spikes. Check the supply voltage at the light under load before replacing the unit. If the voltage drops significantly when the light is switched on, the fault is in the wiring or connections rather than the LED itself.
Build your routine now, and most faults will be found on your schedule rather than on the roadside.
